Introduction
How I Improved My Pour-Over Coffee Technique for Better Flavor
I love the smooth, vibrant cup that pour-over coffee produces; however, my early attempts often tasted flat or sour. Over time, I discovered that small adjustments make a big difference. With staying energy and exercise, I progressed my brew with the aid of that specialized gadget, measurements, and pouring technique. The result? A richer, greater balanced cup. In this publication, I’ll share the important topics I changed in my method to beautify flavor, from selecting the proper device to studying the pour-over method.
Choosing the Right Equipment
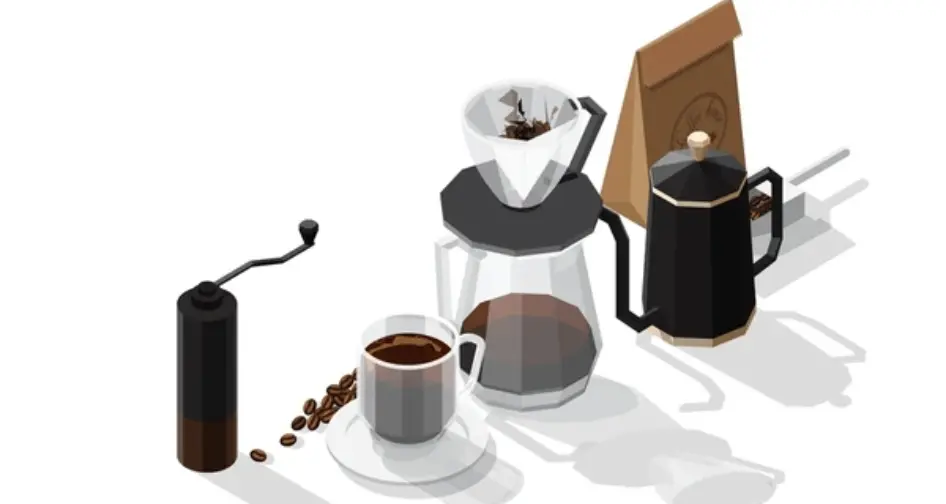
To brew notable pour-over coffee, a few tools make an international distinction. First, I invested in a nice pour-over espresso maker. Popular options encompass cone-customary drippers like the Hario V60, Chemex, or Kalita Wave. These gadgets permit me to manage the go-together with the waft of water through the grounds. Many coffee experts recollect the Hario V60 ceramic dripper to be one of the remarkable pour-over coffee makers, as it continually produces a properly balanced, clean cup.
A gooseneck kettle has been vital for managing. The narrow spout lets me pour at a definitely the right pace and direction. With a steady, sluggish pour, I can frivolously wet all the grounds in some unspecified time in the future of the bloom and maximum important pour. In evaluation, regular kettles can gush too much water right away, principal to choppy extraction.
Alongside the kettle and dripper, I rely upon a digital scale to measure degrees precisely. Accuracy guarantees a steady cup whenever.
Some different necessities I use:
Burr grinder: I grind beans simply earlier than brewing. A burr grinder guarantees a uniform medium-excellent grind; that’s important for even extraction. Inconsistent grind size from a blade grinder can motivate under- or over-extraction.
Filters: I use splendid paper filters. A paper cleanout offers an easy cup without grit, even as steel filters permit extra oils for extra body. I constantly rinse the paper filter with hot water earlier than brewing. This gets rid of any papery taste and preheats the brewer.
Fresh whole beans: I use freshly roasted beans, usually mild or medium roast, and grind them simply before brewing. Beans roasted in the final weeks enhance the taste considerably. Medium-slight roasts also allow the specific taste notes of the beans to shine.
With the proper equipment—a dependable dripper, a particular kettle, a scale, a grinder, and sparkling coffee—I set the muse for better taste.
Getting the Ratio and Grind Right
One of the biggest enhancements came from dialing in the coffee-to-water ratio and grind duration. Early on, I could eyeball portions and get inconsistent effects. Now I measure cautiously using a virtual scale. The ideal pour-over coffee ratio is prepared 1:16 (espresso to water with the resource of weight). For instance, I use 20 grams of coffee to 320 grams of water.
If I need a stronger cup, I pass for a barely lower ratio, like 1:15. If the espresso feels too severe, I boost it in the direction of 1:17 or 1:18. The key is experimenting until you find your great energy.
The grind period, moreover, performs a crucial function. I now grind to a medium-satisfactory texture, similar to granulated sugar. If the grind is simply too coarse, water flows too rapidly, and the coffee tastes insipid. If it’s too remarkable, the brew will become bitter and over-extracted. After experimenting, I settled on a grind period that produces a brew time of around three minutes, which yields the top-notch taste for my palate.
Tips for Measuring and Grinding
- Use a scale to weigh coffee and water precisely.
- Take the scale after including grounds, then add water to your intended weight (e.g., 320g of water for 20g of espresso).
- Start with a 1:16 pour-over coffee ratio and modify based on your flavor preference.
- Grind clean without a doubt earlier than brewing for maximum flavor.
- If your brew tastes bitter, attempt a coarser grind. If it’s sour or prone, grind finer or pour greater slowly.
The Step-by-Step Pour-Over Process
Once I had my system and recipe equipped, I had a constant brew recurring. Each step made my espresso surprisingly higher.
- Rinse and Preheat
- Place a paper filter inside the dripper and pour hot water through it into your mug or carafe. This rinses away any paper taste and warms the device. Don’t forget to discard the rinse water.
- Add Coffee Grounds
- Tare the scale with the dripper in the region and add your floor espresso (medium-excellent grind). Shake gently to level the bed.
- Bloom
- Start your timer and pour just enough water (approximately two times the espresso’s weight) in a slow spiral to saturate the grounds frivolously. Then wait 30–45 seconds to permit the coffee to bloom and release trapped gases.
- Main Pour
- After blooming, pour the remaining water in a managed spiral movement, maintaining the water level consistently. Avoid pouring without delay onto the filter itself, focusing as an opportunity on the espresso bed. A regular, even pour is important for balanced extraction.
- Total Brew Time
- I call for a complete brew time of two. Five to three minutes, which includes bloom. If it finishes too fast, I grind finer or pour slower. If it drips too slowly, I adjust to a coarser grind.
- Gentle agitation for the duration of pouring—like a small swirl or light stir—moreover enables even extraction.
Technique Tweaks That Made a Big Difference
- I picked up numerous useful hints along the way.
- Folding the filter: I fold the filter out snugly on each aspect to cast off gaps and prevent water from bypassing the coffee bed. This guarantees an even glide through the grounds.
- Creating a divot: Some brewers suggest shaping a small divot in the middle of the espresso mattress (additionally called the “Kubomi” approach). This allows the bloom to pour and wet the grounds more frivolously.
- Using filtered water: I switched from tap water to filtered or bottled water. The distinction ends up huge. Clean water with balanced minerals improves readability and taste.
- Maintaining temperature: Water that’s too warm or too cool will have an impact on extraction. I propose 195°F to 205°F (90–96°C). After boiling, I permit the kettle to sit for about 30 seconds to attain the proper range.
- Preheating the cup: Pouring warm water into the mug in advance of brewing helps preserve the coffee’s warmth and enhances the consuming revelry.
- Cleaning gadget: I now smooth the dripper, kettle, and grinder regularly. Old coffee oils and residues can impart off-flavors, so a smooth setup can offer an extraordinary flavor.
Choosing the Best Pour-Over Coffee Maker
The dripper you pick out affects your outcomes. Cone-formed drippers, just like the Hario V60 and Kalita Wave, are exceptional for readability and stability. Flat-backside drippers provide extra control for beginners and even extraction.
Pick out the Hario V60 ceramic dripper. It’s durable, everyday, and newbie-pleasant with a chunk of practice. It’s additionally considerably advocated as one of the best pour-over coffee makers for both novices and professionals. The Chemex is some other cute and practical alternative, especially for brewing more than one cup.
What matters most is consistency. Once you draw close to your dripper of preference, you could reflect on the technique and experiment with different beans and techniques.
Common Mistakes and How I Fixed Them
- Even with the right tools and beans, mistakes can happen. Here are a few I encountered—and how I confronted them:
- Too bitter: Usually from over-extraction. I fixed this by grinding coarser and lowering the general brew time.
- Too sour or susceptible: This turns out to be from below-extraction. A finer grind and slower pour solved the hassle.
- Lukewarm coffee: I now preheat everything, which incorporates the dripper and mug, to maintain warmth.
- Uneven flavor: Often due to negative pouring technique or a misaligned clear-out. I began folding the filter out tightly and pouring with greater ease.
- Water bypassing grounds: Ensuring a fair mattress and fending off pouring onto the clear-out solved this.
- By gaining knowledge from every brew and adjusting one detail at a time, I, in the end, commenced getting usually delicious outcomes.
Conclusion
Improving my pour-over coffee approach has been an adventure of small, however significant, adjustments. From selecting the proper pour-over espresso maker to refining my pour-over coffee ratio and pouring style, each step delivered me towards the perfect cup.
It’s no longer approximately being a barista or having a fancy device—it’s approximately consistency, curiosity, and care. Once you find what works for you and exercise often, pour-over becomes one of the most profitable strategies to make coffee.
If you’re simply getting started, don’t be afraid to test. Measure your ingredients, strive for awesome beans, tweak your grind, and pour with aim. The enhancements can be clear—one cup at a time.